Today I’m going to share several 2 methods to convert WAV files to MP3 format for Windows and Mac users. Whether you’re a music production enthusiast or just want to manage your huge music library, these methods will be useful. I’ll go into detail about the steps, pros and cons of each method, and hope it helps!
Method 1. Using All-in-one Tool: AudioKies
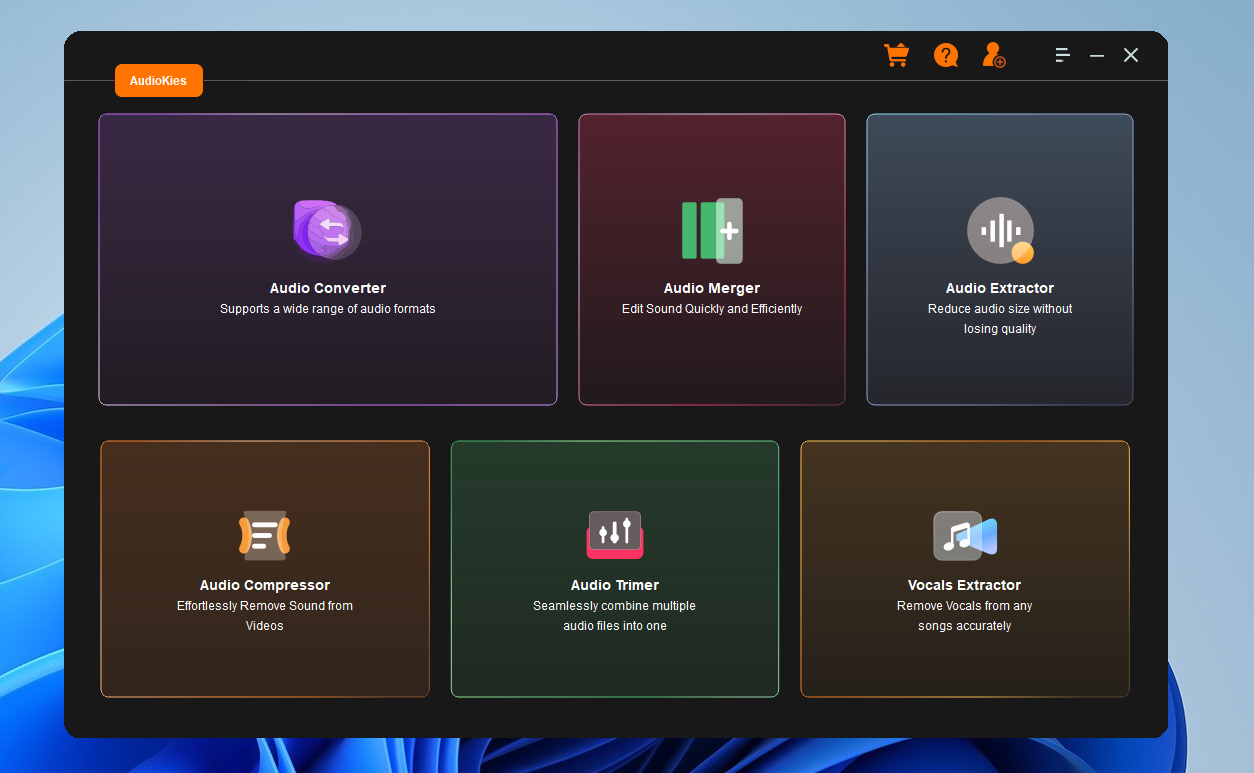
AudioKies is a desktop software that supports a wide range of audio editing tasks including trimming, joining audio files, and vocal removal. It also supports various audio formats for conversion, including WAV, AIFF, FLAC, MP2, MP3, Ogg Vorbis, and others, using various libraries like libsndfile, libmp3lame, and libflac.
Step 1.Download and Install AudioKies
Click the below button to download AudioKies on your PC or Mac. Once downloaded, open the installer and follow the on-screen instructions to install AudioKies on your computer.

Step 2: Add WAV Files to the Converter
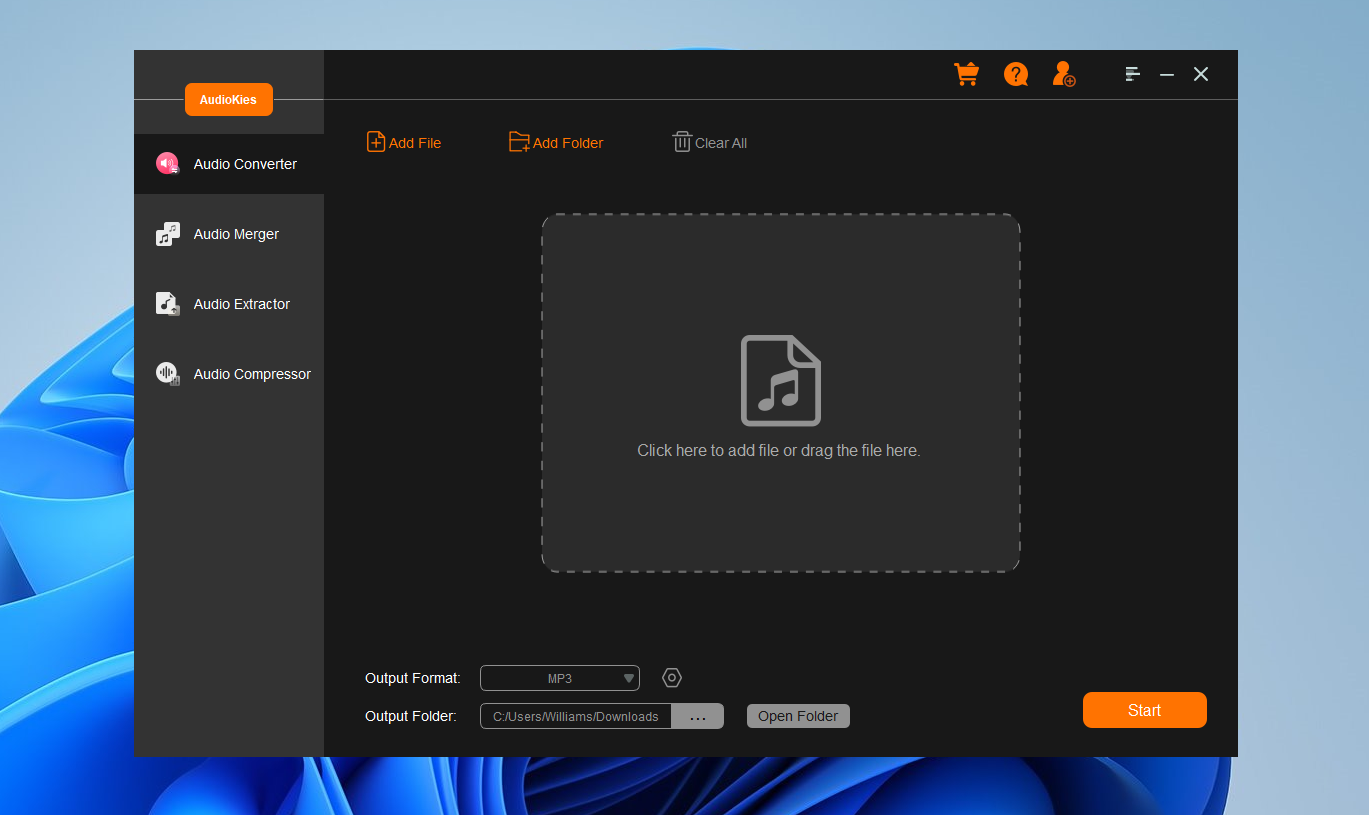
After installation, launch AudioKies by double-clicking the desktop icon. In the main interface of AudioKies, click on the "Add File" button. A file browser window will open. Navigate to the location of your WAV files, select them, and click "Open" to add them to the converter.

Step 3: Select MP3 as the Output Format
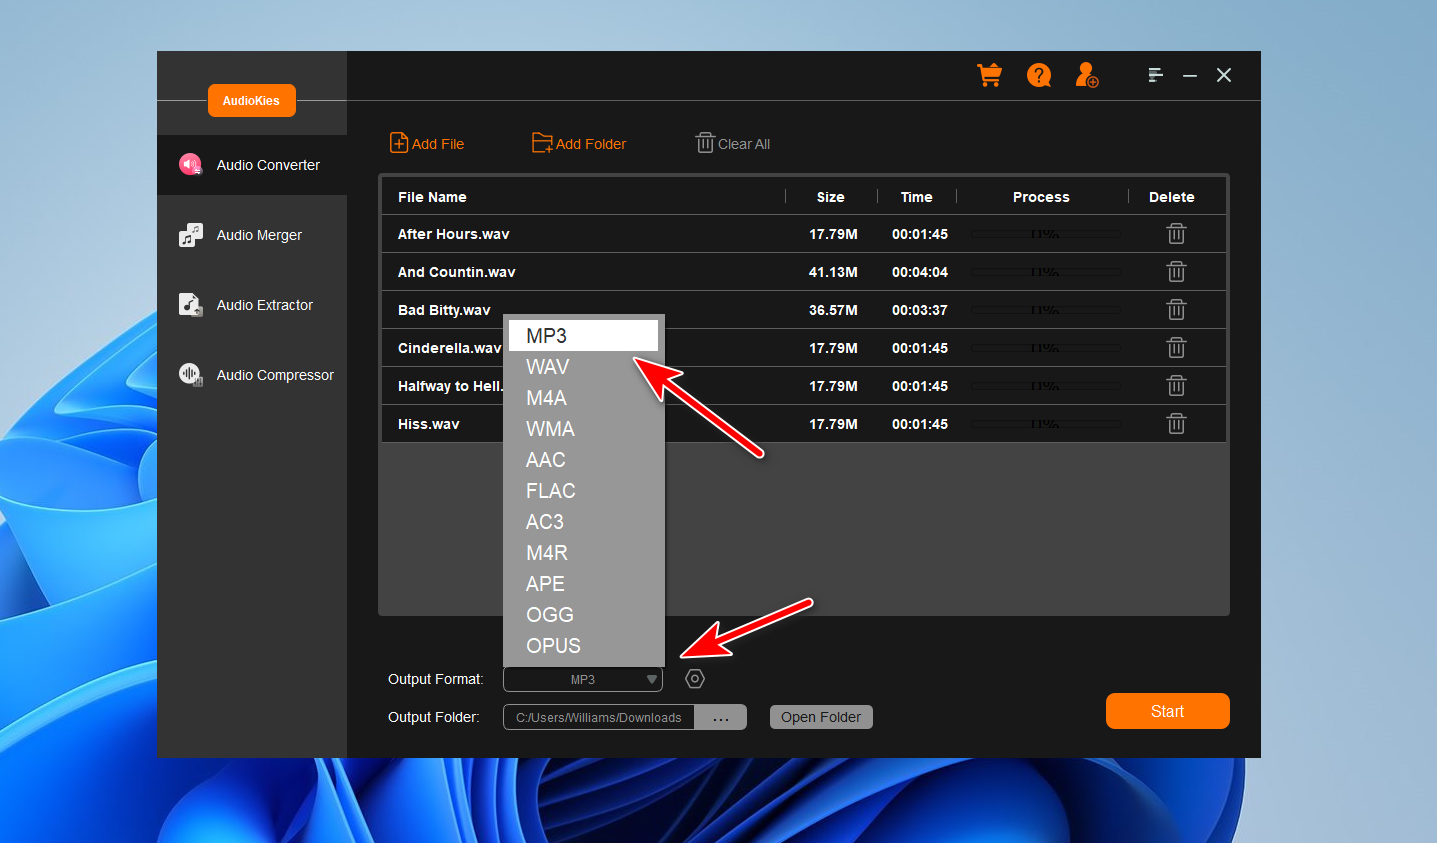
Once your WAV files are added, click on the "Output Format" dropdown menu at the bottom of the window. In the profile list, select "MP3" as the desired output format.

Step 4. Start Converting WAV to MP3
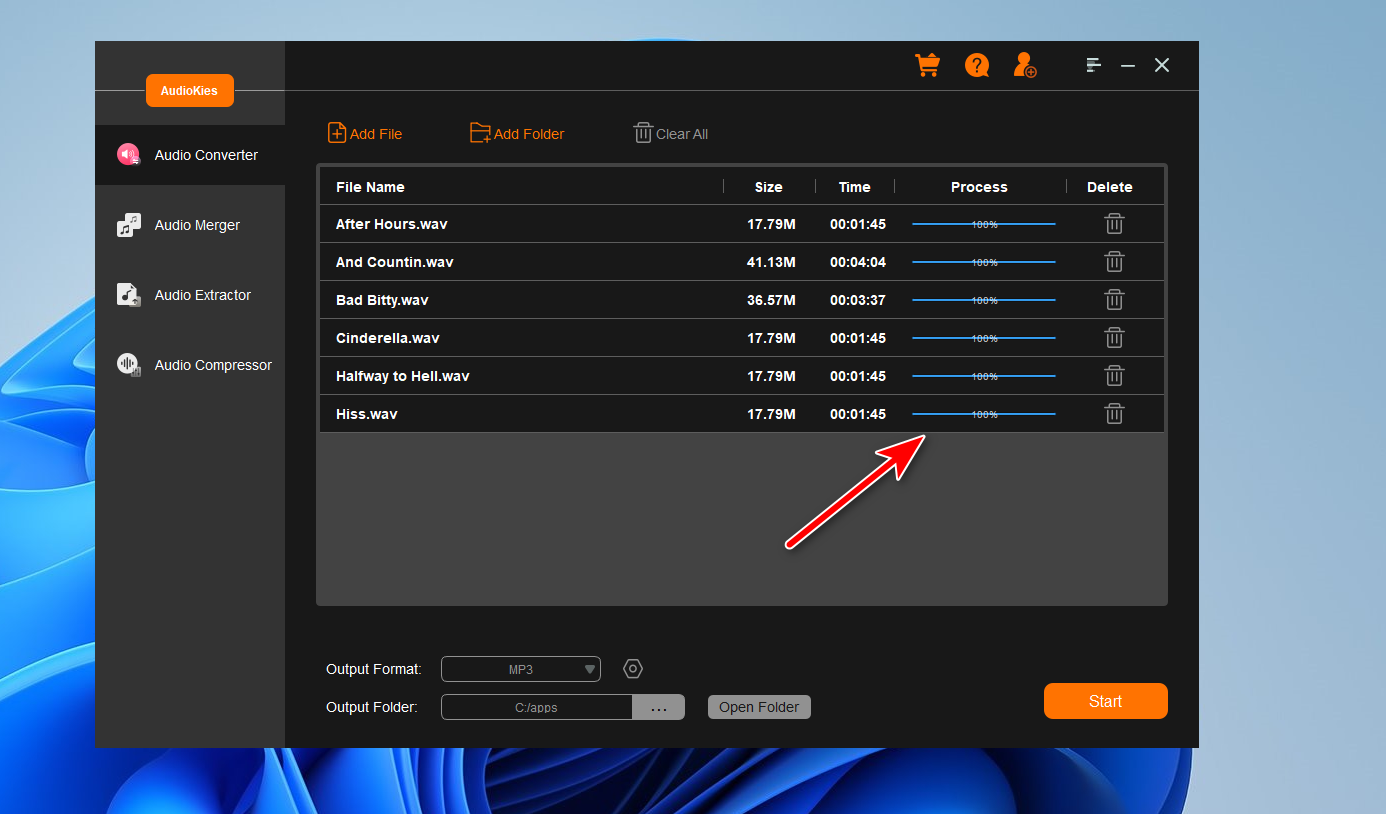
Click the "Output Folder" button and choose a folder where you want to save the converted WAV files and click "OK." Once all settings are configured, click the "Start" button to start the conversion process. AudioKies will begin converting your WAV files to MP3. You can monitor the progress in the conversion window.

What Can AudioKies Do:
- Batch Convert any formats: (Works with over 300 formats: mp3, wav, m4a, flac, ogg, amr, mp2,m4r and more).
- Merge Audios: Seamlessly combine multiple video or audio files into a single.
- Extract Audios: Isolate and extract video from audio tracks with ease.
- Compress Audio Files: Reduce file sizes while maintaining quality, perfect for storage and streaming
- Remove Vocal from Music: Split vocal, accompaniment and various instruments from any audio and video.
- Trim Music:Trim, delete unnecessary parts in any audio files.
Method 2. Using FFmpeg
FFmpeg is a very powerful open source tool for processing video and audio files. It supports almost all video and audio format conversions, and can also be used to record and convert media files. In the field of audio and video processing, FFmpeg can be said to be a real Swiss Army knife with very comprehensive functions, including but not limited to encoding, decoding, transcoding, multiplexing, demultiplexing, stream processing, etc.
Command example for converting WAV to MP3 using FFmpeg:
Assuming that you have installed FFmpeg on your computer and have a file called example.wav that you want to convert to MP3 format, you can use the following command:
Assuming you have FFmpeg installed on your computer and have a file called example.wav that you want to convert to MP3 format, you can use the following command:
ffmpeg -i example.wav -codec:a libmp3lame -qscale:a 2 example.mp3
The explanation of this command is as follows:
- -i example.wav specifies the input file.
- -codec:a libmp3lame uses the libmp3lame library for audio encoding (MP3 format).
- -qscale:a 2 sets the audio quality, the smaller the value, the higher the quality.
- example.mp3 specifies the output file name.
Pros
- Very powerful, feature-rich, and can handle almost all types of audio and video tasks.
- Completely free and open source, it is widely developed and maintained.
- Command line tool, can be easily integrated into other software or automation scripts.
Cons:
- The learning curve is steep, and the command line interface may be a bit complicated for beginners.
- It needs to be operated through the command line, which may not be friendly enough for users who are used to graphical interfaces.

