Let me tell you a little story. A few weeks ago, I found myself in a bind. My laptop decided to throw a tantrum right before a big presentation. No time to fix it, no backup laptop, and only a tiny glimmer of hope: my trusty USB drive. But not just any USB – I had set it up as a portable Windows To Go drive using SYSGeeker AnyWinGo. That little piece of tech magic saved the day, and I’ve been singing its praises ever since.
If you’re wondering what a Windows To Go drive is and how you can create one for Windows 11, you’re in the right place. Stick with me – I’ll walk you through the process in plain English, no tech degree required!
What’s a Portable Windows To Go USB Drive, Anyway?
Think of it as a pocket-sized computer. You install a full, portable version of Windows 11 on a USB drive, which you can plug into any compatible PC and boot up like it’s your own computer. It’s perfect for:
- Traveling light (no need to lug around a laptop).
- Troubleshooting and recovering systems.
- Accessing your personalized setup on any device.
Unfortunately, Microsoft discontinued its official Windows To Go feature, but third-party tools like SYSGeeker AnyWinGo have swooped in to save the day – and they do it even better, to be honest.
How to Create Your Own Portable Windows 11 To Go USB Drive
Here’s how you can set it up using SYSGeeker AnyWinGo. Don’t worry, it’s easier than assembling IKEA furniture (and less frustrating).
Step 1: What You’ll Need
Before you start, make sure you have these:
- A USB drive or external SSD (at least 32GB, but bigger is better).
- A Windows 11 ISO file (you can download it from Microsoft’s official website).
- SYSGeeker AnyWinGo software (download it from their official website – it’s worth every penny).
Step 2: Install and Launch SYSGeeker AnyWinGo
Once you’ve downloaded and installed SYSGeeker AnyWinGo, fire it up. The clean, simple interface will make you feel right at home. It’ll guide you step-by-step, so no guesswork needed.
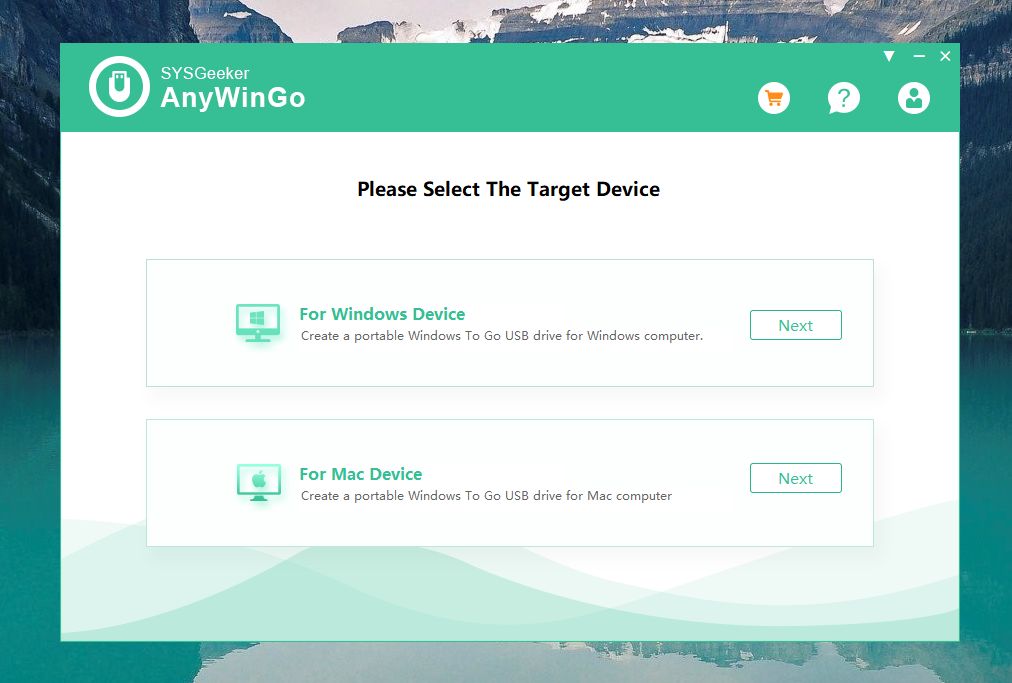
Step 3: Insert Your USB Drive
Plug your USB drive or external SSD into your computer. Make sure you back up any important data first because the process will wipe the drive clean.
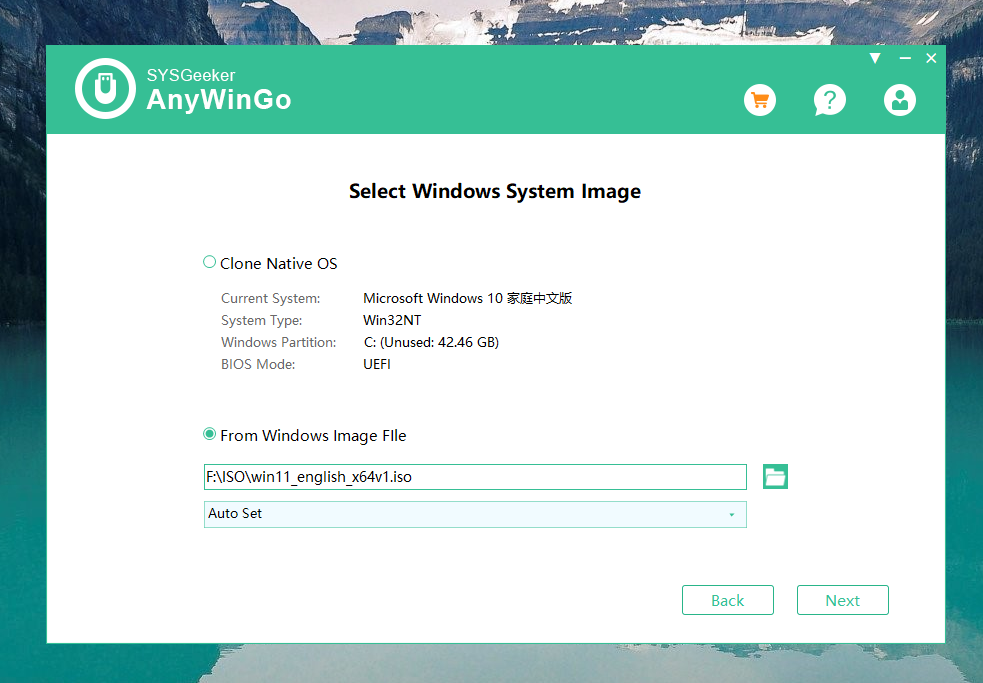
Step 4: Load the Windows 11 ISO File
Click the option to load your Windows 11 ISO file. If you don’t have one yet, SYSGeeker AnyWinGo can even help you download it directly. Talk about convenience, right?
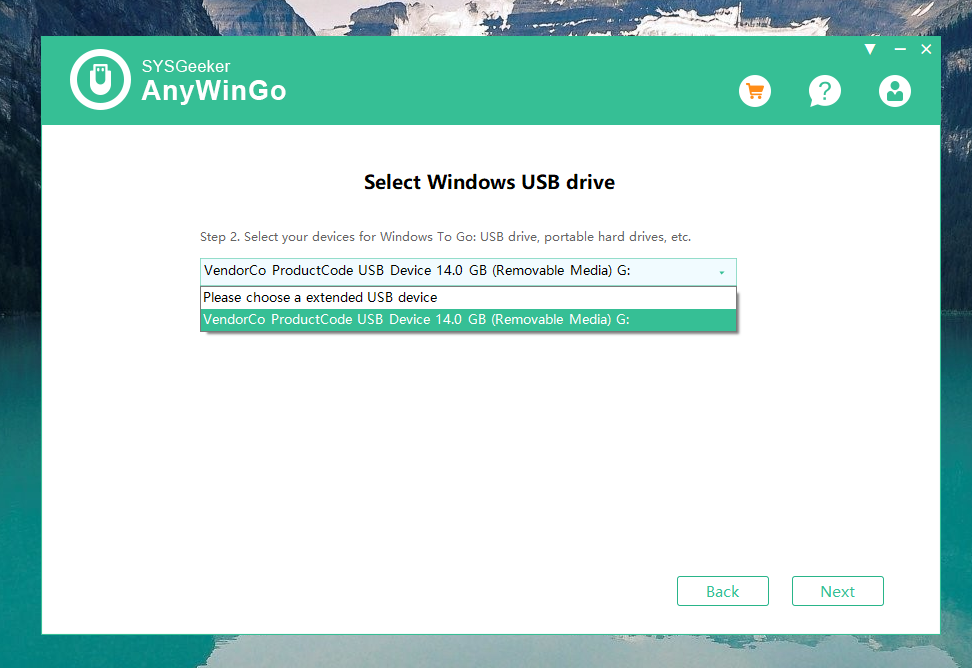
Step 5: Configure Your Drive
Select your USB drive from the list, and let the software do its thing. You can customize a few options if you want, but the default settings work great for most people.
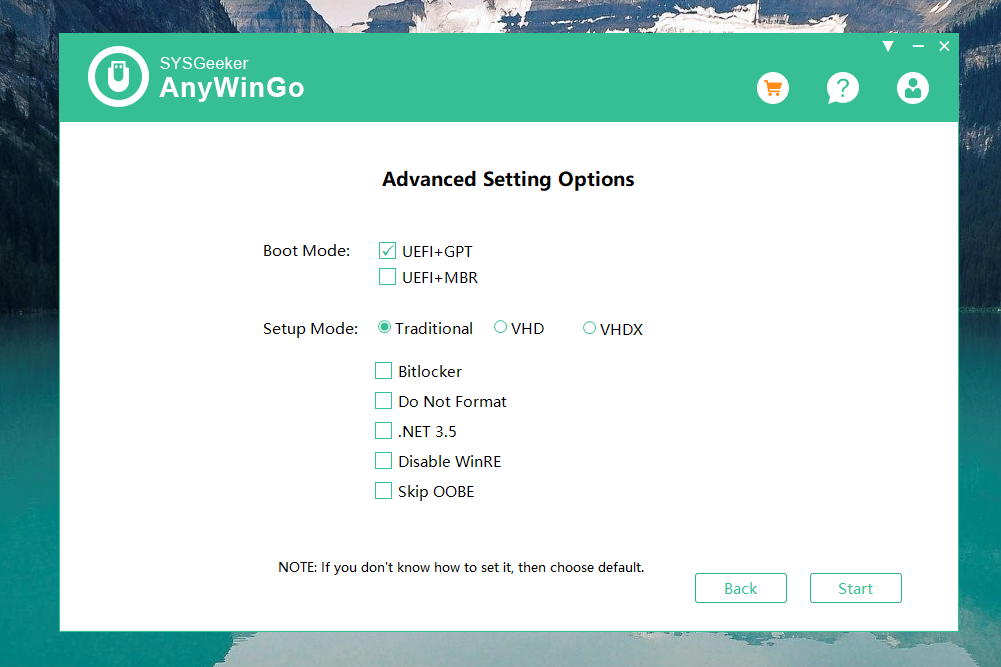
Step 6. In this setup page, you can make many steps for your OS, like Boot mode: UEFI + GPT or UEFI + MBR, and Setup mode.
Step 7: Hit the Start Button
This is where the magic happens. Click “Start,” sit back, and let SYSGeeker AnyWinGo handle the heavy lifting. In about 15 -30 minutes (depending on your drive and system speed), you’ll have your very own portable Windows 11 USB drive.
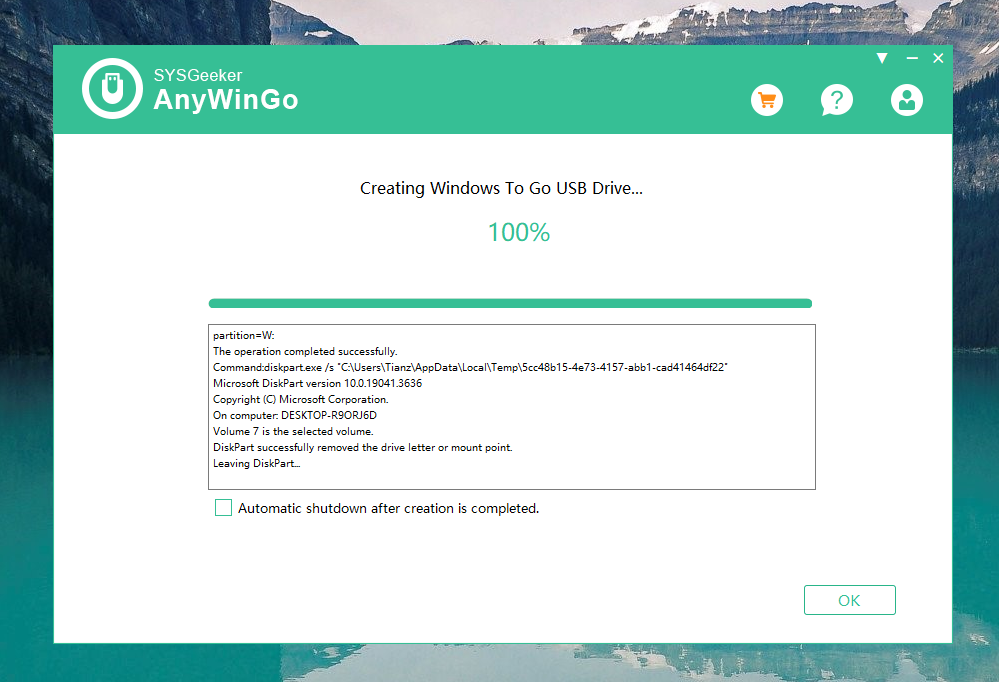
Step 8: Test It Out
Restart your computer, go into the boot menu (usually by pressing F12, Esc, or a similar key during startup), and select your USB drive as the boot device. Voilà! Your portable Windows 11 environment is ready to roll.
Why You’ll Love Having a Portable Windows To Go Drive
Now that you know how to create one, let’s talk about why you’ll love having this nifty tool in your tech arsenal:
- Travel-Friendly: Imagine walking into any workspace, plugging in your USB drive, and having your personalized setup ready to go. No need to lug around heavy equipment.
- Disaster Recovery: If your main computer crashes, your Windows To Go drive can be a lifesaver. Boot it up, recover files, and troubleshoot with ease.
- Security: Your data stays on your drive, not the host PC. It’s like having your own private, portable workstation.
- Flexibility: Whether you’re hopping between offices, working remotely, or experimenting with different PCs, your USB drive has your back.
My Experience with SYSGeeker AnyWinGo
When I first started looking into portable Windows drives, I’ll admit I was skeptical. Other tools I tried were either too complicated or downright unreliable. But SYSGeeker AnyWinGo? It was like finding the Holy Grail of tech solutions.
That day my laptop acted up, I just plugged in my USB drive, booted up on a friend’s PC, and gave my presentation without missing a beat. The crowd had no idea anything was amiss – and neither did my boss. Crisis averted.
Final Thoughts
Creating a portable Windows To Go USB drive for Windows 11 might seem like a techie task, but with tools like SYSGeeker AnyWinGo, it’s a breeze. Whether you’re a seasoned IT pro or just someone who wants a backup plan for their digital life, this tool is worth every penny.
So, what are you waiting for? Grab a USB drive, download SYSGeeker AnyWinGo, and give it a shot. Trust me, you’ll feel like a tech wizard when you boot it up for the first time.
And hey, if you have your own story or tips about portable Windows drives, drop them in the comments. I’d love to hear how you’re making this tech work for you!

