Hey there! So, let me share my little adventure when I needed to reinstall Windows 7 on an old laptop. Spoiler alert: It wasn’t as straightforward as I hoped, but I figured it out, and here’s how you can do it too!
Why a Bootable USB?
First off, why bother with a bootable USB? Well, most modern laptops (and even some desktops) no longer come with optical drives. My trusty old Windows 7 DVD was pretty much useless, so creating a bootable USB was the way to go. Plus, it’s way faster than using a DVD.
Download Windows 7 ISO
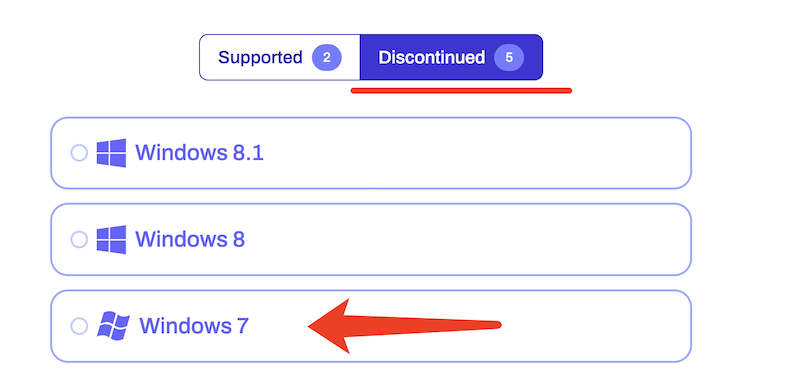
Windows 7 ISO download is no longer available from Microsoft website as it is deprecated. Fortunately, you can download Windows 7 ISO from os.click, a safe place to download Windows ISO from Windows 7, Windows 10 and Windows 11.
Download Windows 7 ISO: https://os.click/en/Windows
The Tool I Used: SYSGeeker WonderISO
I stumbled upon SYSGeeker WonderISO during my frantic Googling. It turned out to be a lifesaver—simple, reliable, and no unnecessary frills. It worked perfectly to create a bootable Windows 7 USB without any headaches.
What You’ll Need
- A USB flash drive (at least 8GB).
- The Windows 7 ISO file (you can download this from Microsoft if you have your product key).
- SYSGeeker WonderISO installed on your PC.
Steps to Create Your Windows 7 Bootable USB
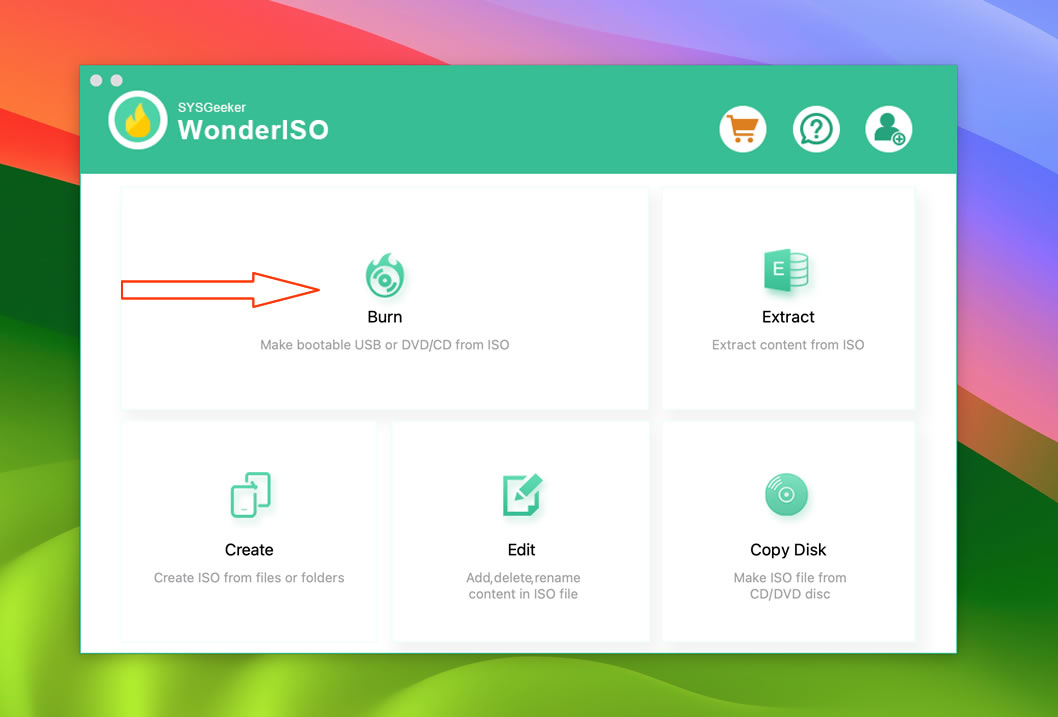
Download and Install SYSGeeker WonderISO
Head to their official website and grab the software. Installation is quick and painless.
Plug in Your USB Drive
Make sure you back up any data on the USB because it’ll be formatted during the process.
Launch WonderISO and Load the ISO
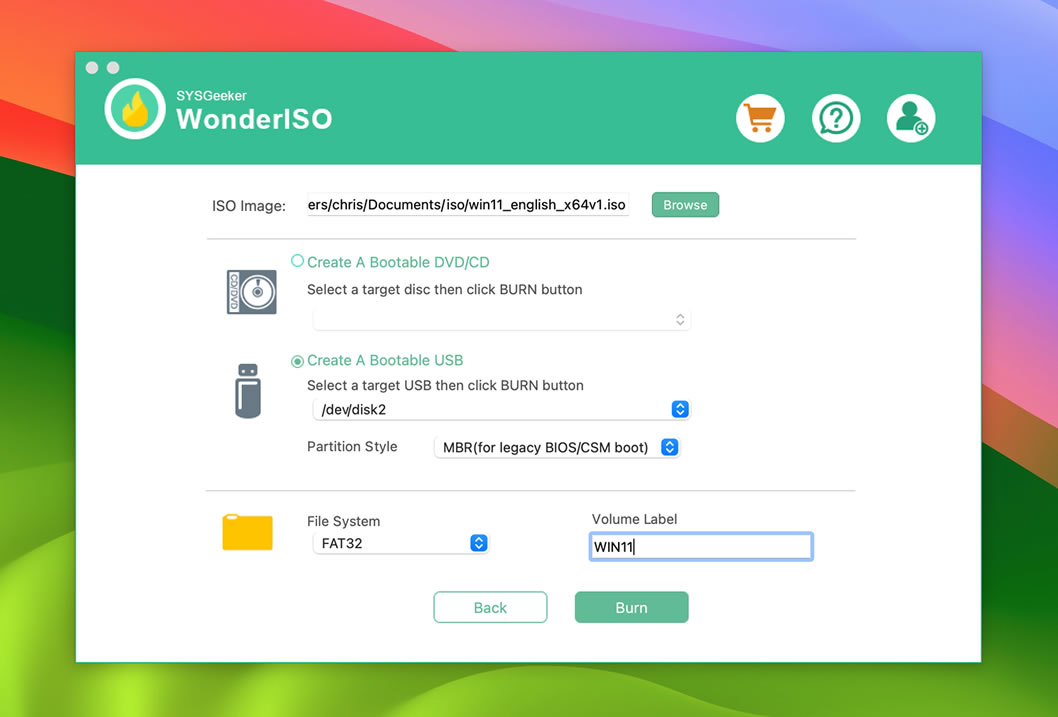
Open the software, and you’ll see a super-clean interface. Click on Browse to select your Windows 7 ISO file.
Select Your USB Drive
WonderISO automatically detects your connected USB. Just make sure the right drive is selected to avoid formatting the wrong one.
Start the Process
Click on Burn and let WonderISO do its magic. It’ll format the USB, copy all the necessary files, and make it bootable. This part might take a few minutes, so grab a coffee while you wait.
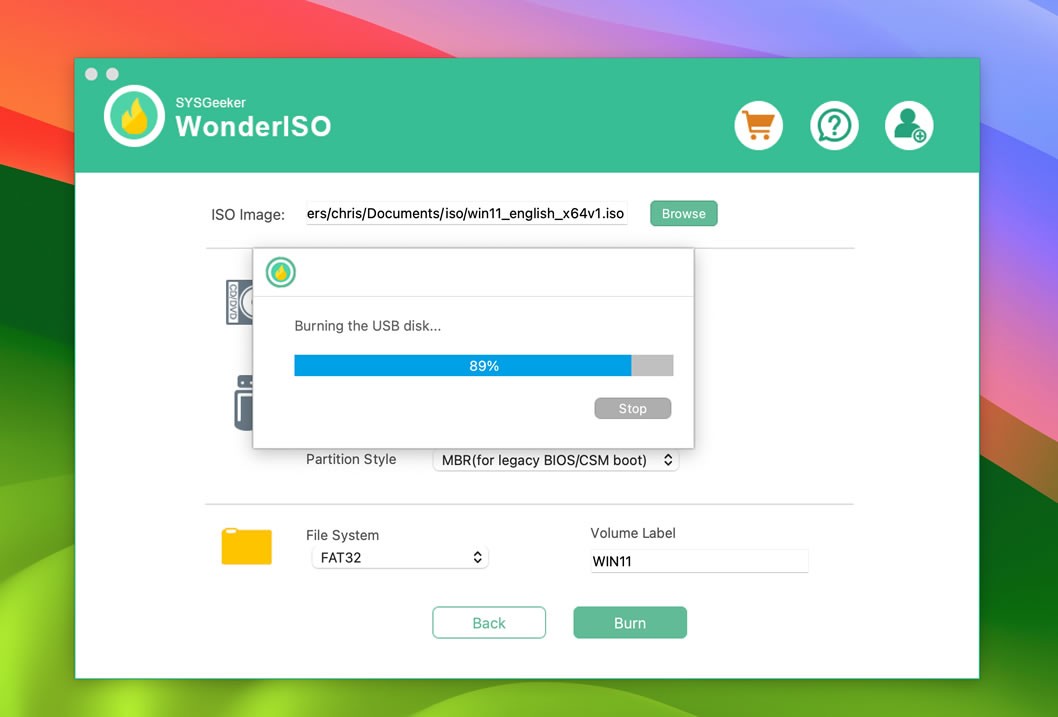
If the ISO file is larger than 4G, WonderISO can automatically process and split it into 2 small files. The whole process does not require manual intervention and is fully automated!.
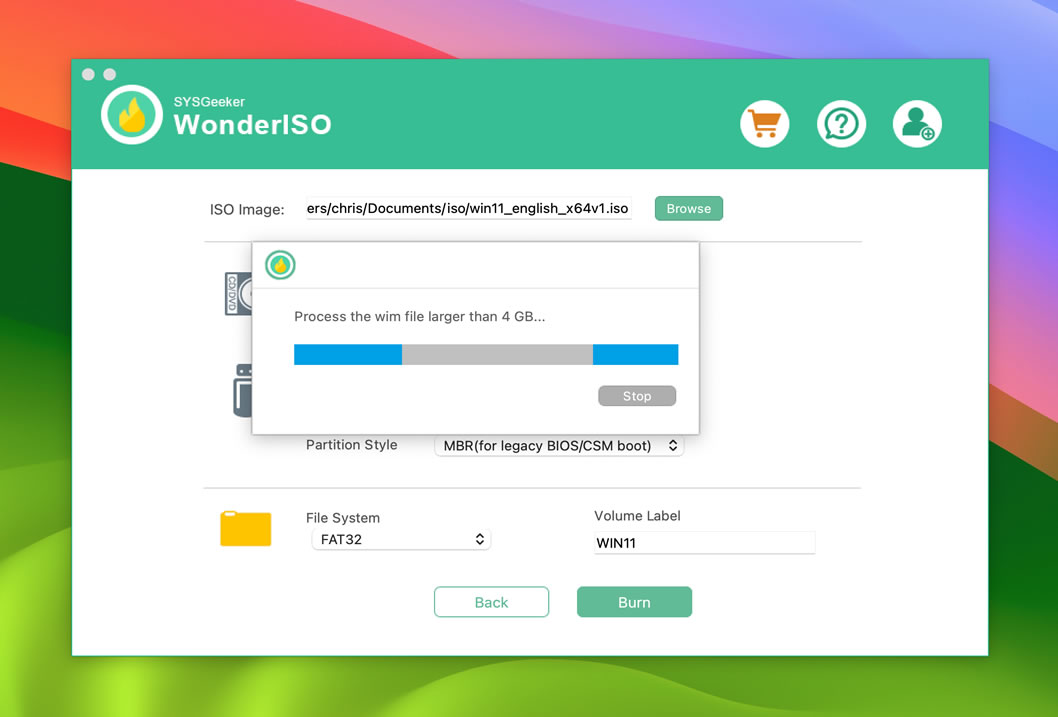
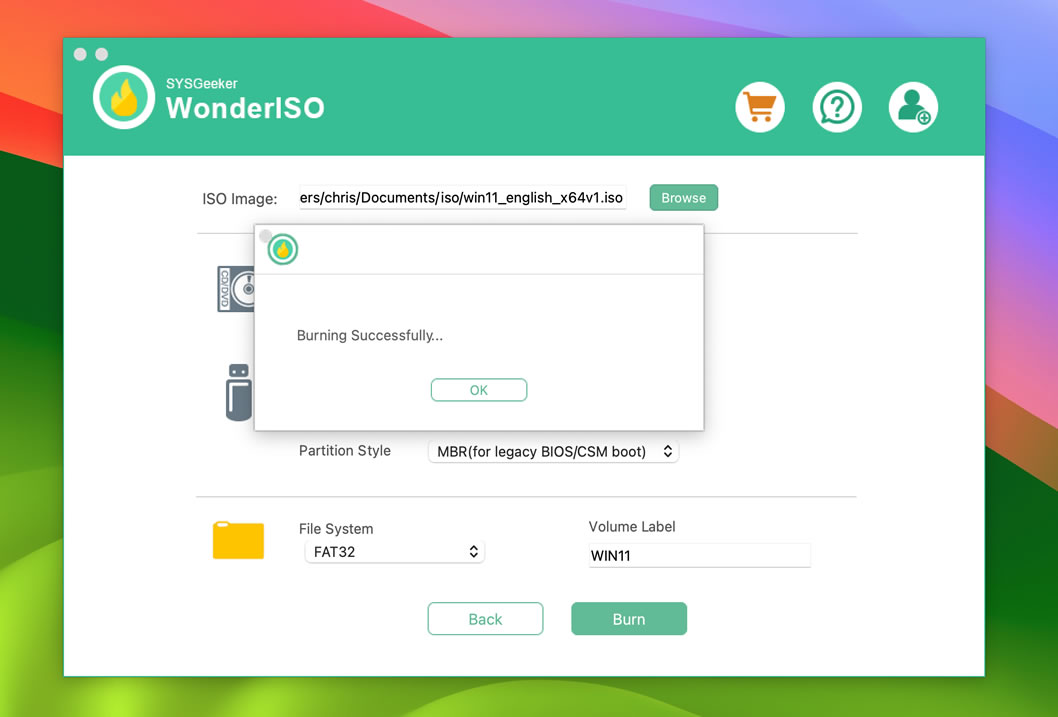
After the writing process is completed, your bootable USB installer is created successfully. Pull out your USB and plug it into another computer, set it to boot from USB, and start installing the Windows system.
You can download it here:
Start to Install Windows on a PC
After the boot disk is created, insert it into the computer and set it to boot from USB. Generally, press and hold F2, F11 or Del key during startup. At this time, you will enter the installation interface of the Windows system like below.
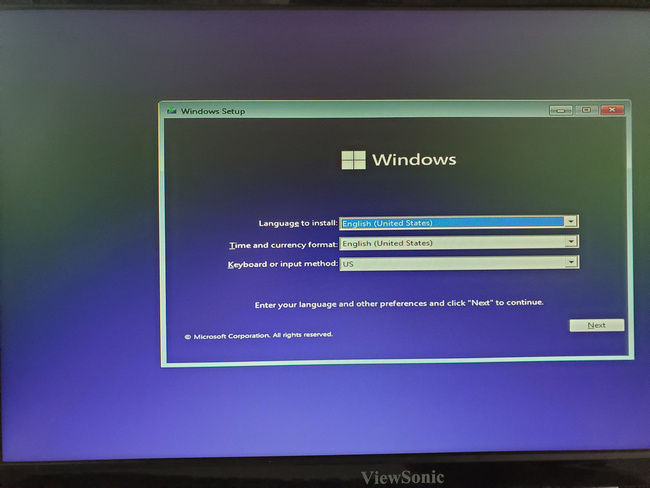
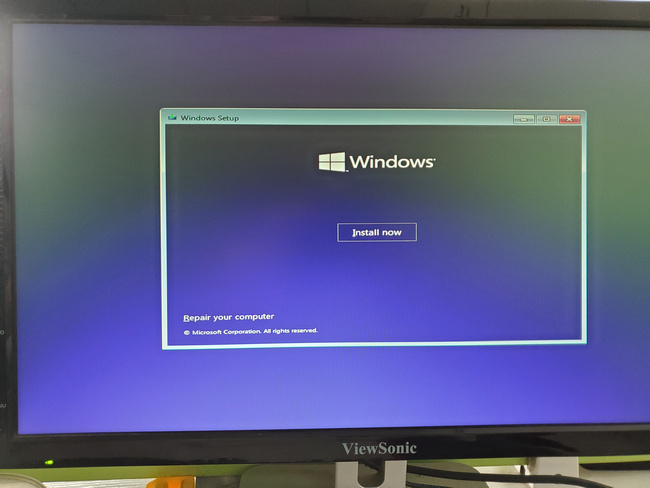
Select language, country, etc. and select Next, then click install now button.
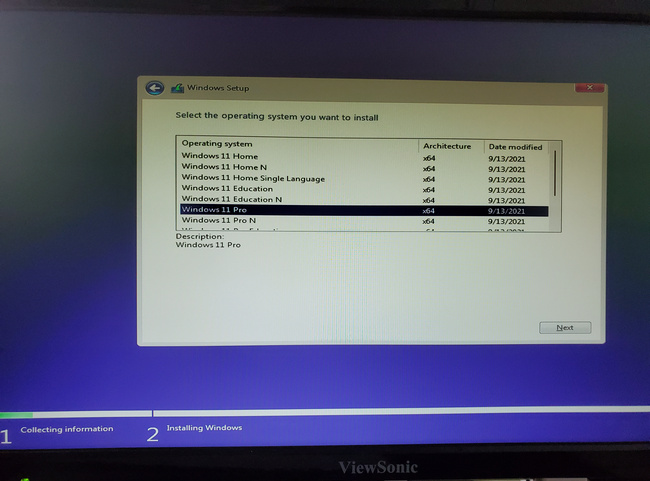
Different Windows system versions will be listed at this time, including 64 and 32-bit. You can select the version you need and click Next to start installing the system.
You can download and use it for free now. This graphical interface software is perfect for users who don’t know how to use the command line.
Why WonderISO?
Honestly, I’ve tried some other tools like Rufus and the Windows USB/DVD Tool, but they either didn’t work well with the Windows 7 ISO or required a lot of manual tweaking. WonderISO was straightforward and didn’t leave me second-guessing what to do next.
Final Thoughts
Creating a Windows 7 bootable USB might sound intimidating at first, but with the right tool (shoutout to WonderISO!), it’s a breeze. Whether you’re reviving an old PC or just reinstalling Windows for a fresh start, this method will save you time and frustration.
So, if you’re in the same boat I was, give it a shot and let me know how it works for you!

