So, I’ve been diving more into video editing lately, whether it’s for YouTube, vlogs, or just for fun. I’ve tried editing on both Windows and Mac, and I’ve learned a lot along the way about which tools are worth using. Today, I want to share my experience with you about how I edit videos on both platforms, and why Aiseesoft Video Editor has become my go-to tool for editing across both Windows and Mac.
My First Experience with Video Editing
When I first started editing videos, I’ll admit, I was pretty overwhelmed. There are so many options out there, especially for people who are new to video editing like I was. I had tried some basic tools like Windows Video Editor and iMovie on Mac, but I quickly realized that I wanted more power and flexibility. I needed a tool that was simple enough for a beginner but powerful enough to help me create professional-looking videos without spending a fortune.
After some research, I stumbled upon Aiseesoft Video Editor, and I have to say, it has been a game-changer for me. Here’s why I recommend it, especially if you’re looking for an easy yet feature-packed solution.
Editing Videos on Windows
As a Windows user, I was used to working with software that had a lot of features but also came with a steep learning curve. That’s why Aiseesoft Video Editor immediately caught my attention. It was perfect for someone like me who needed powerful features but didn’t want to spend hours learning how to use them.
How I Use Aiseesoft on Windows:
Import My Video: I just drag and drop my footage into the editor. It supports almost all popular video formats, so I don’t have to worry about compatibility issues.

Click Add File to add media files to this program. Use editing features to start to Save this video with editing effects.

Trim and Cut: My first step is usually trimming out the unnecessary parts of my videos. Aiseesoft makes this process seamless—just drag the sliders to cut, and it’s done.

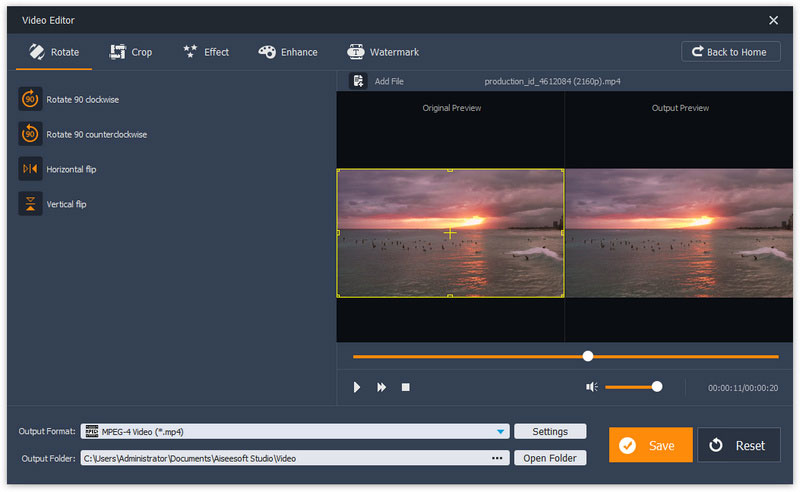
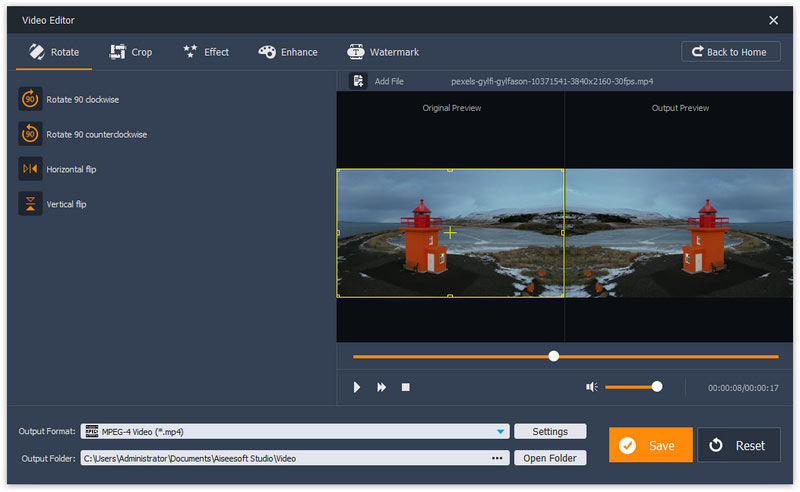
Rotate video: Click Rotate to add your sideways video into this software. Then you can rotate videos in 90 clockwise or 90 counterclockwise. Based on your habit, you can also flip the video files vertically or horizontally.

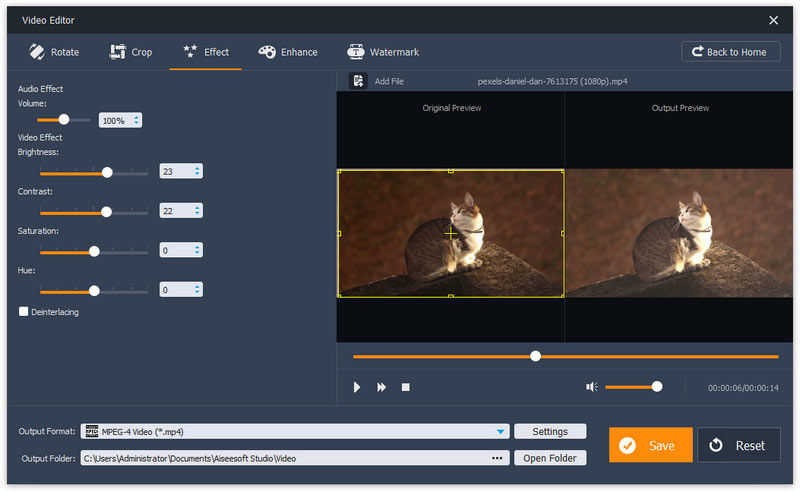
Add Effects and Transitions: If I want to make the video more dynamic, I’ll add some effects or transitions. This is one of my favorite features because it makes a simple video look more professional.

Export: Finally, once I’m happy with the video, I hit the export button and choose the resolution and format I need. It’s fast and doesn’t compromise on quality.
Why I Love Aiseesoft on Windows:
- Super Easy Interface: When I opened Aiseesoft Video Editor for the first time, I was relieved by how clean and simple the interface was. No unnecessary buttons or confusing options—just the tools I needed right in front of me.
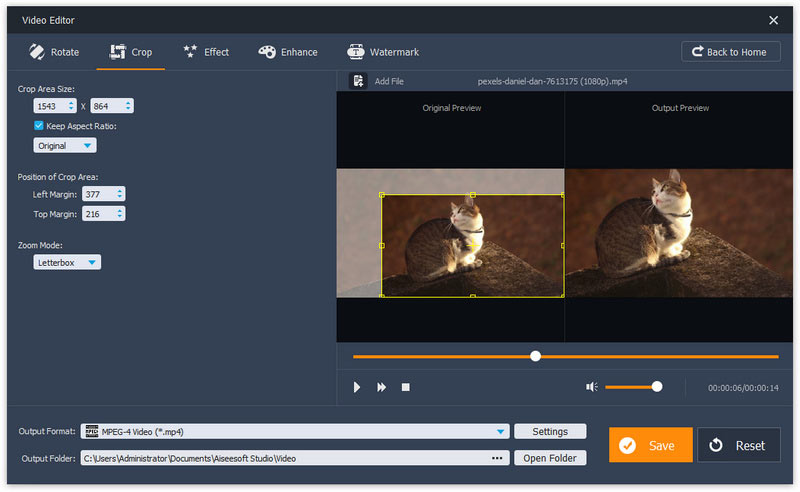
- Basic Features: I was able to easily cut, crop, and trim my videos without feeling lost. The software lets you get down to the basics, which is great for beginners.
- Advanced Tools for When You Need Them: But as I got more comfortable, I also realized that Aiseesoft offers some advanced features like adding filters, transitions, and even adjusting the video speed. This allowed me to add a little flair to my videos, making them look more polished and fun.
Conclusion
Whether you’re on Windows or Mac, Aiseesoft Video Editor is hands-down one of the best tools I’ve used for editing videos. It strikes a perfect balance between simplicity and functionality. So, if you’re looking to edit your videos like a pro without a steep learning curve or expensive software, I highly recommend giving Aiseesoft Video Editor a try.

