So, let me tell you about a mini-crisis I had a while back. I accidentally wiped out an entire folder off my computer – yep, straight from the Recycle Bin into the digital void. That folder had everything – work documents, a bunch of irreplaceable photos, and even some personal stuff I’d been compiling over the years. Panic mode: activated.
I mean, we all know that “delete” in Windows doesn’t really mean gone forever, right? The files linger around, hidden deep within the drive until new data overwrites them. That bit of knowledge was comforting until I realized I didn’t have a clue on how to get those files back!
After a frantic search and sifting through a bunch of forums and tech blogs, I decided to give Aiseesoft Data Recovery a shot. Here’s why it turned out to be a lifesaver.
Why Choose AiseeSoft Data Recovery?
I chose Aiseesoft mainly because of the user reviews praising its efficiency and simplicity. It supports both Windows 10 and 11, and it seemed like a straightforward solution without needing to be tech-savvy—which, let’s be honest, I’m not!
How to Recover Deleted Files from Windows 11/10
If you’ve decided to give Aiseesoft Data Recovery a try after facing the dreaded “I’ve permanently deleted my files” scenario, here’s a simple step-by-step guide to help you recover your lost data. Don’t worry; it’s pretty straightforward!


Step 1: Download and Install
- Download: First things first, head over to the Aiseesoft Data Recovery website and download the software. Make sure to download the version compatible with your Windows system (it works with both Windows 10 and 11).
- Install: Run the installation file and follow the on-screen instructions to install the software on your computer.
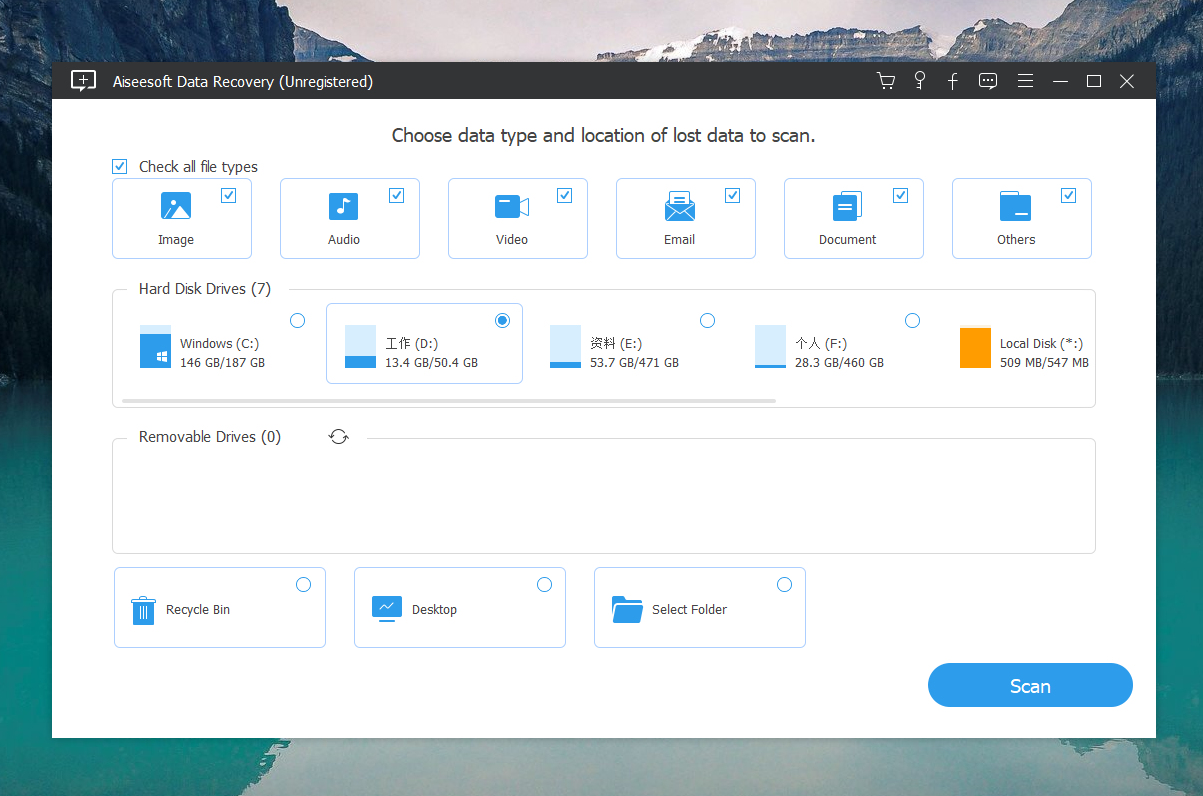
Step 2: Select File Types
- You’ll see a list of file types such as images, audio, email, documents, and others. Check the boxes next to the types of files you’re looking to recover. If you’re not sure, or if you want everything back, just tick all the boxes.
Step 3: Scan Your Drive
- Click on the “Scan” button to start the process. The software first performs a quick scan that rapidly searches for recently deleted files.
- If your quick scan doesn’t turn up the files you were hoping for, don’t lose hope. There’s a “Deep Scan” option right at the bottom. It takes longer but searches more thoroughly.
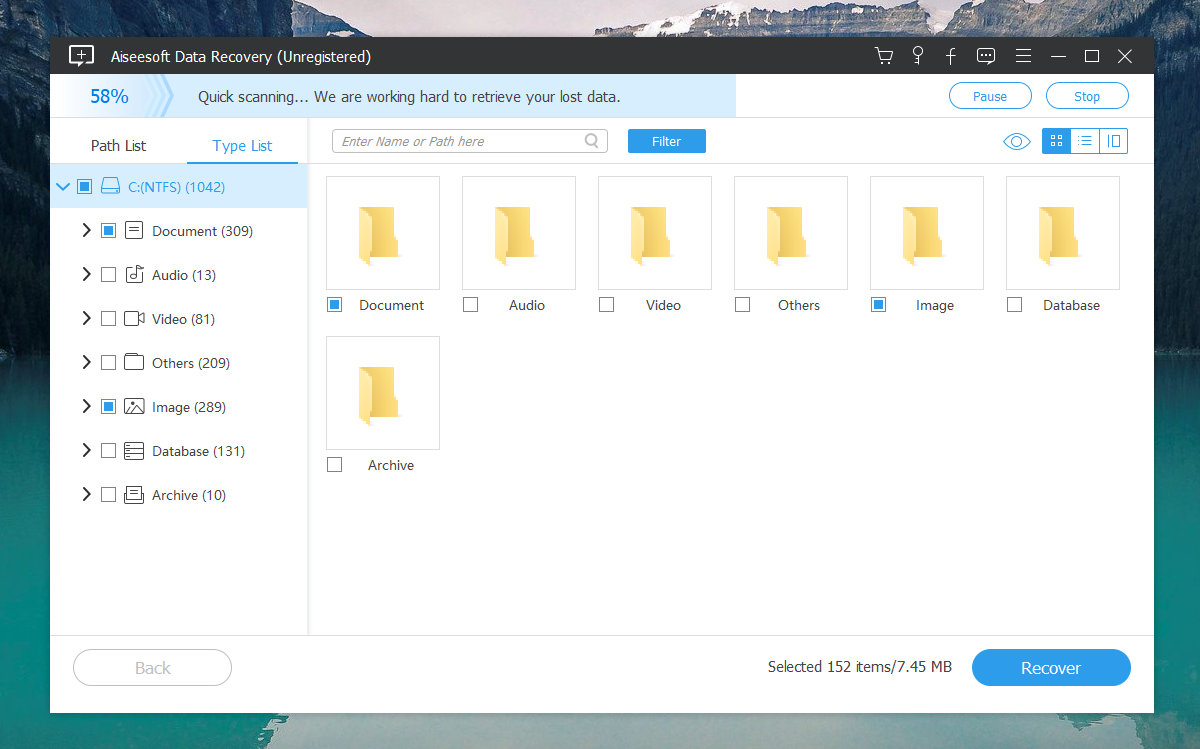
Step 4: Review and Recover
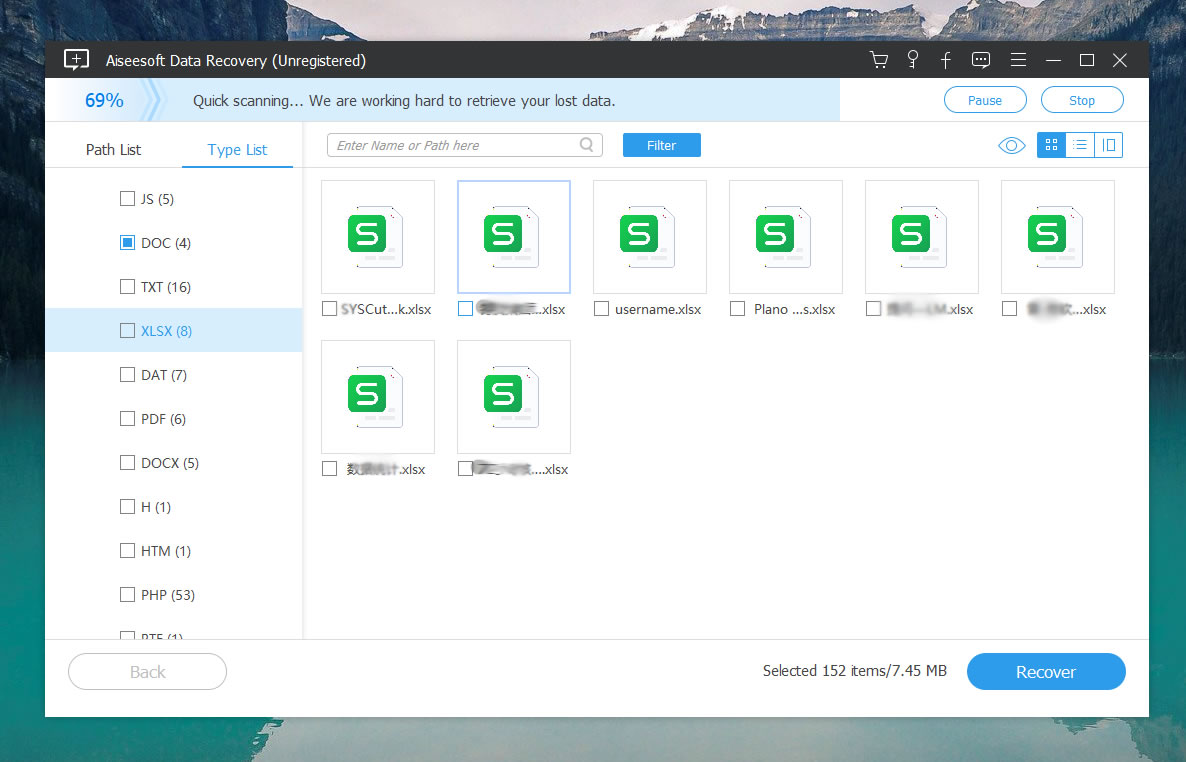
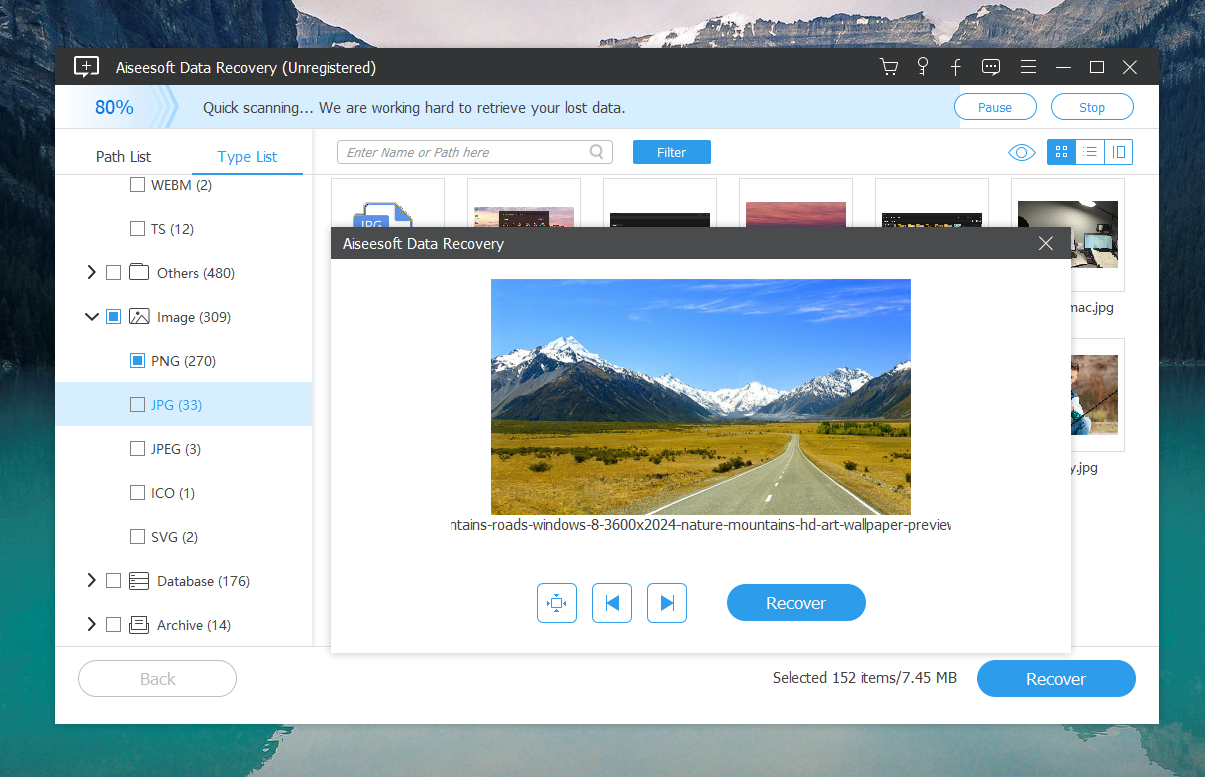
- Once the scan completes, the software will display a list of recoverable files. You can sort these by file type or path, and even preview them to see if they’re the ones you need.
- Select the files you want to recover by checking the boxes next to them.
As the powerful data recovery tool, Aiseesoft Data Recovery can help you recover any data types like image, document, audio, video, email and more.

The software typically works by scanning the selected storage device for lost or deleted files, then presenting the user with a list of recoverable items. Users can preview the files before recovery and choose which ones they want to restore.
Step 5: Save Your Files
- Click on the “Recover” button after selecting your files.
- Choose a location to save the recovered files. Important: Save the files to a different drive than the one they were recovered from to avoid overwriting any data.
Step 6: Backup Your Data
- After recovering your files, consider setting up a regular backup routine. Whether it’s an external hard drive or a cloud service, regular backups can save you a lot of stress in the future.
Some Advice
- Act quickly: The sooner you try to recover your files, the better your chances of getting them back before they’re overwritten.
- Save recovered files on a different drive: This reduces the risk of overwriting the very data you’re trying to retrieve.
- Consider regular backups: If you’ve been putting off setting up a backup system, let this be your wake-up call!
Final Thoughts
Losing files can feel like the end of the world, but it really doesn’t have to. Tools like Aiseesoft Data Recovery are literal lifesavers for the digitally challenged like myself. Whether it’s a careless click or a full system glitch, having a reliable recovery tool can really turn the tide.
So, if you ever find yourself in a digital pickle, give Aiseesoft Data Recovery a try. It’s user-friendly, effective, and truly gets the job done. Remember, in the world of tech, not all deletions have to be final!